Creating BigQuery Secure Views
As part of creating secure views with Bornio, you:
- Connect to a BigQuery database
- Ingest schema and metadata from the source
- Deploy the secure views into BigQuery
Prerequisites
Before starting, you must have successfully:
- Installed Bornio in your GCP.
- Obtained permissions and login credentials to the GCP project that contains your BigQuery dataset.
- Obtained permissions and login credentials to the target GCP project for your protected dataset.
GCP Permissions for Secure Views
You can use a service account to create connections for data sources, privacy filters, and secure views.
The service account requires the following roles as minimum:
- BigQuery Connection Admin
- BigQuery Data Editor
- BigQuery Job User
- BigQuery Metadata Viewer
- BigQuery Resource Viewer
- Cloud Functions Developer
- Cloud Functions Invoker
- Cloud Run Invoker
- Service Account User
Creating a Data Source
Creating a data source established all the necessary connection information for Bornio to access the schema and metadata information that is needed to protect data and customize privacy policies.
- Review how to create a data source.
- Open and login to Bornio Studio.
- Click + Data Source.
- Click Google BigQuery.
- Enter the Account key credentials.
- Enter the Project name.
- Enter the Dataset name.
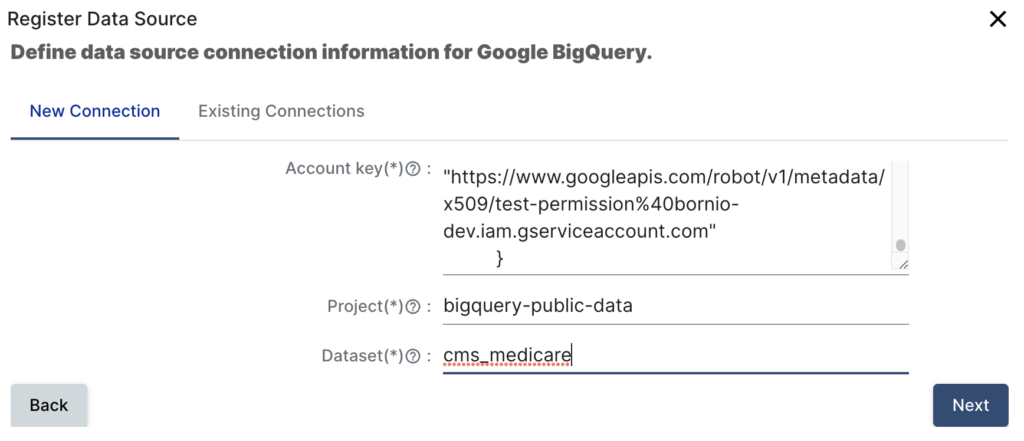
- Click Next.
The data source is registered and you are taken to Preview mode: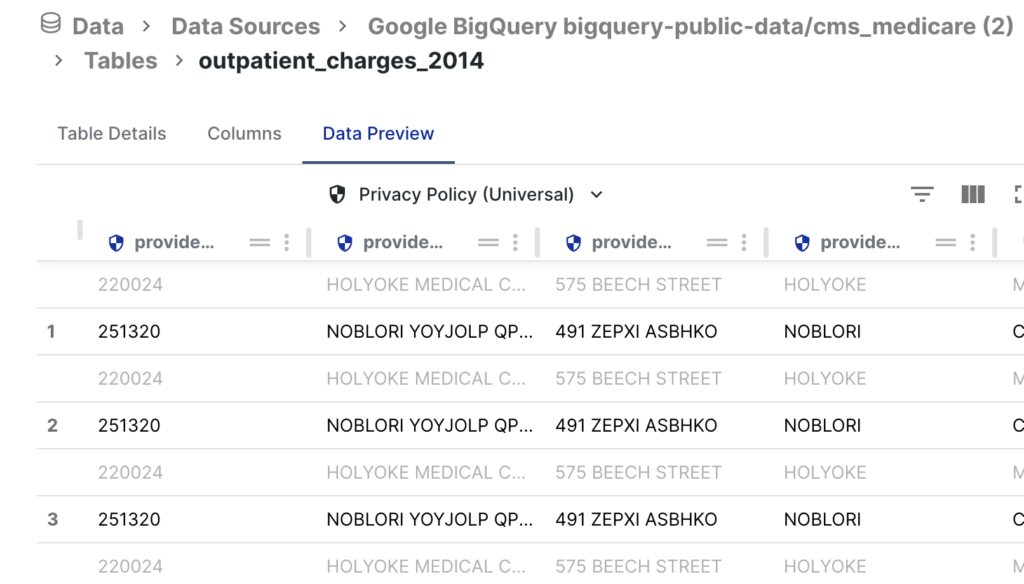
Note: Preview mode shows two rows for each original row of data. The first row is shown in light gray and represents the original data. The second row, which in numbered, is in a darker gray to indicate how the protected data would appear when deployed to a target location.
Defining and Deploying your Bornio Privacy Filter
Bornio privacy filters keep track of each unique combination of data source, protection policy, and target location.
- In the left nav, click Privacy Filters.

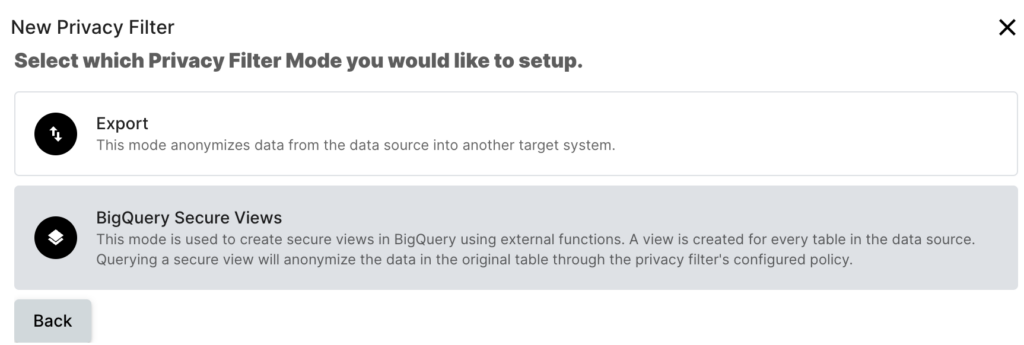
- Click + Privacy Filter.
- Select the data source which you want to control the privacy policies for your target data.
- Select BigQuery Secure Views.
- Select a Default Bornio Policy.
- Enter the Target Project.
- Enter the Target Dataset. Use a name that indicates that the data is secure and is easy for you to find.
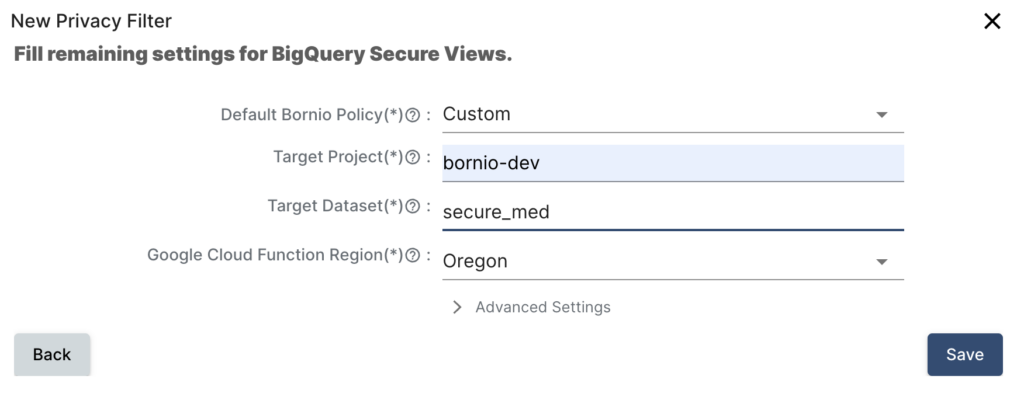
- Click Save to deploy your secure views.
Give Bornio a few minutes to create all the secure views in your GCP project.
Verifying Creation of your Secure Views
You can use the Google Console to verify that the secure views dataset was created for you and that the data is protected.
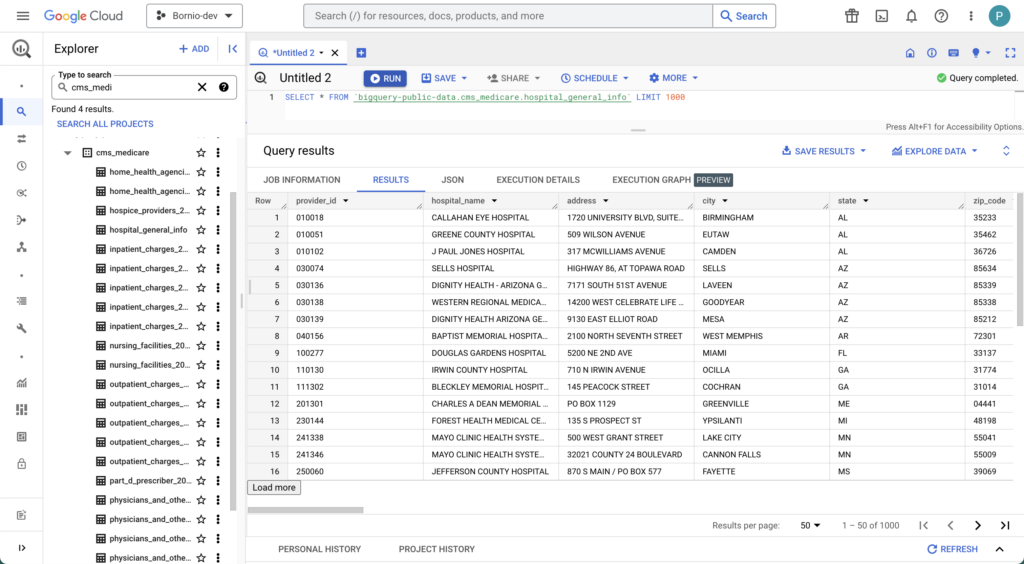
- In the Cloud Console, open BigQuery.
- Expand your project.
- Expand your dataset.
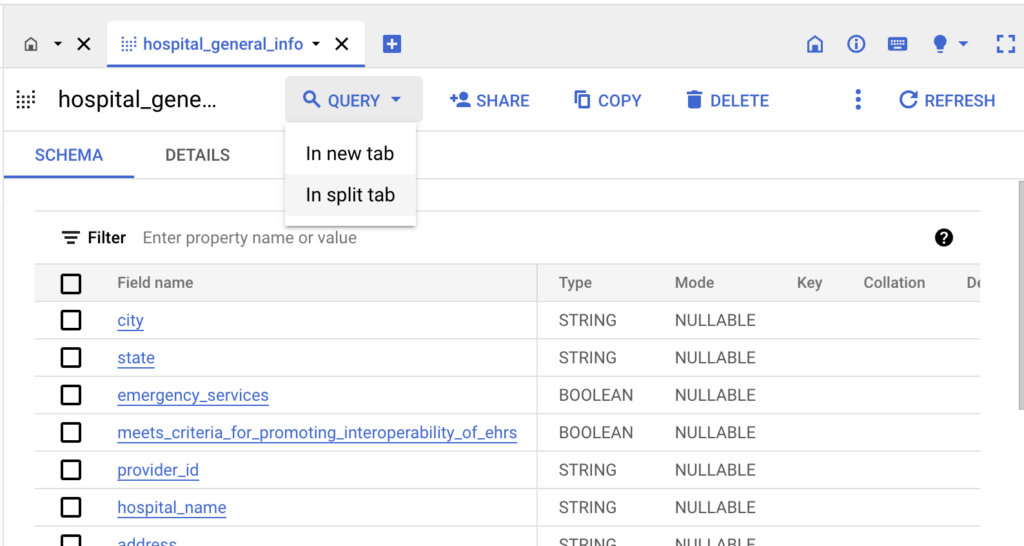
- Open a table.
- Click Query.
- Click In split tab or In new tab.
- Modify the query syntax.
- Click RUN.
- Review the results to validate your data protection.