Getting Started Tutorial
Bornio Studio is a web-based application that let’s you generate data privacy policies and implement them in Bornio data privacy filters.
This tutorial familiarizes you with the key features of Bornio Studio using a simple example.

Tutorial Steps
This tutorial walks through the process of generating and updating a privacy policy for the sample data and it requires that you have completed the Bornio install.
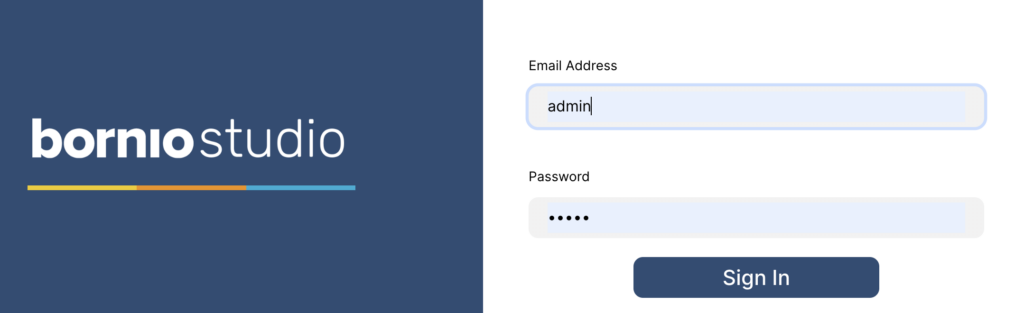
Sign in to Bornio
Bornio users:
- Are all admin users.
- Can be logged into multiple sessions with same user and password combination.
- Sign in as admin user.
- Create a new admin user with a new password.
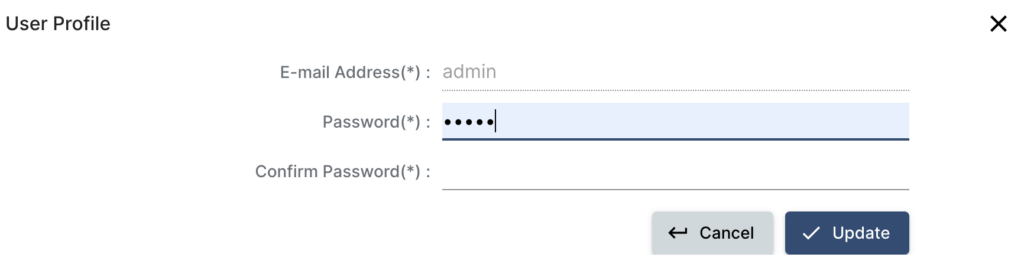
- Login as the user you just created.
Registering a Data Source
Bornio is installed with sample CSV, JDBC, and JSON data sources.
Importing the definitions or structure of the files for the Data Source created is done automatically as part of registering your data source.
NOTE: Bornio does not make copies of the data in the data source. It only imports the metadata or structural definition of the columns or fields in the source data tables or files. In the case of more complex objects such as a JSON object containing semi-structured fields, Bornio automatically infers and flattens the structure.
To register a new data source from the existing sample data:
- Select Data from the left nav, if it isn’t already selected.
- Click + Data Source.
- Choose Local File System.
- Click Existing Connection.
- Select Miri Sample (CSV).
- Choose which source folders you would like to import. For example, select source to import all the folders.
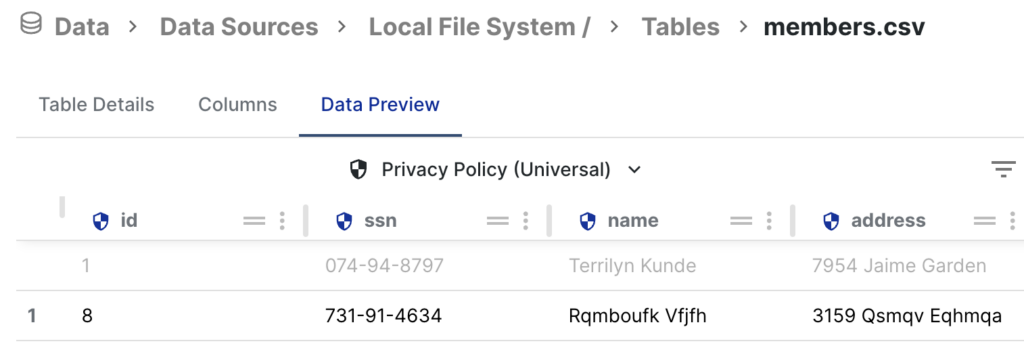
The Data Source opens with Preview mode open.
Selecting Patient Data and Customizing Protection Methods
- Expand Data Sources > source samples…
- Expand patient.csv.
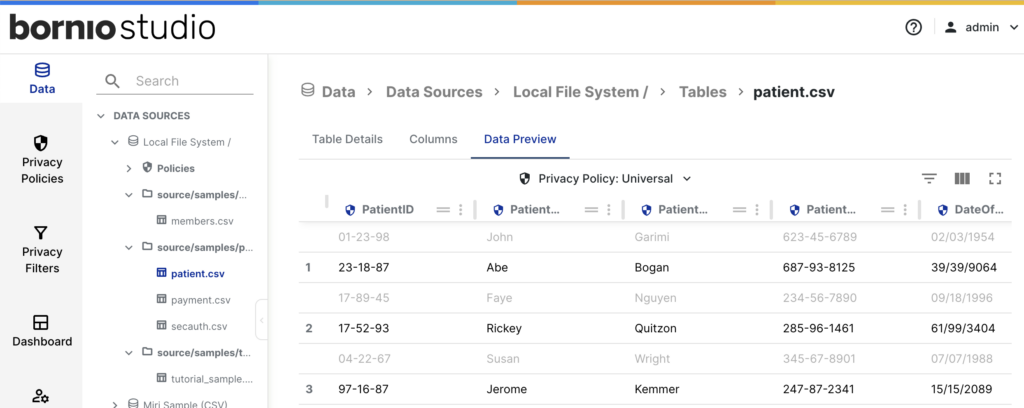
- Click Privacy Policy.
- Select Sample.
- Scroll to the left on the Data Preview tab until you can see the ContactPhone, City, and State columns.
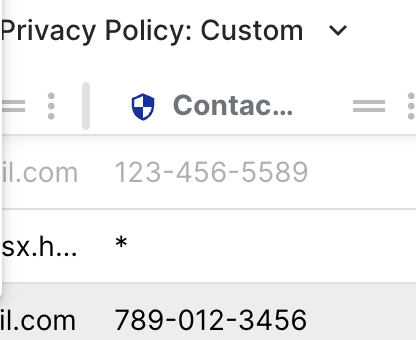
- To the right of ContactPhone, select the three vertical dots.
- Select Edit Protection Method.

- Select Replace.
- Refresh your browser and make sure the Custom Privacy Policy is showing.
- Scroll back over to ContactPhone and verify that values have been replaced by the *.
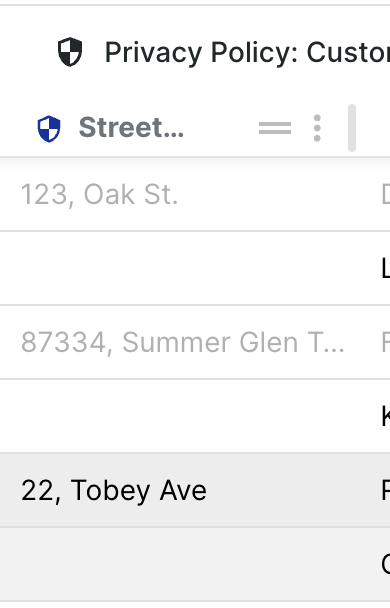
- To the right of Street, select the three vertical dots.
- Select Edit Protection Method.
- Select Redact.
- Refresh your browser and make sure the Custom Privacy Policy is showing.
- Scroll back over to Street and verify that values have been removed.
Creating a New Privacy Filter
Bornio privacy filters keep track of each unique combination of data source, protection policy, and target location.
- In the left nav, click Privacy Filters.
- Click + Privacy Filter.
- Select the data source which you want to control the privacy policies for your target data.
- Select Local File System.
- Select Local File System at the target environment.
- Select Existing Connection. For Example, Miri Sample (CSV).
- For the Default Bornio Policy, select Custom.
- Click Save to deploy your secure data.
Give Bornio a few minutes to create all the secure views in your local file system.
Sample Demo Data
The sample demo data used for the tutorial is available as part of the Bornio installation at the following folder location in your AWS or GCP instance where Bornio is installed. You can open the file with a text editor or spreadsheet tool to review the data.
$HOME/{bornio-{version number}/shared/source/tutorial_sample.csv
NOTE: The sample schema and data is fake and has been constructed to include many of the common data elements seen in applications that store and process patient data.
The sample data is a CSV file that has the following rows of dummy patient profile schema and data with several sensitive data fields in it to illustrate Bornio:
PatientID,PatientFirstName,PatientLastName,PatientSSN,DateOfBirth,Gender,ContactEmail,ContactPhone,StreetAddress,City,State,ZipCode,Height,Weight,PrimaryCarePhysician,HealthcareFacility,EmergencyContactName,EmergencyContactEmail,EmergencyContactPhone,InsuranceName,InsurancePlan,InsuranceMemberID,AmountDue,CardNumber,CardType,SecCode
01-23-98,John,Garimi,123-45-6789,02/03/1954,M,johngarimi@hotmail.com,123-456-5589,"123, Oak St.",Dublin,CA,87391,6 ft. 2 in.,225 lbs,Dr. Able Bodee,Great Samaritan Hospital,Jane Garimi,janegarimi@hotmail.com,567-890-1234,Blue Cross,PPO,AQI78450N0821,"$3,456.00",4234567890123456,Visa,123
17-89-45,Faye,Nguyen,234-56-7890,09/18/1996,F,faye.nguyen@gmail.com,789-012-3456,"87334, Summer Glen Terrace",Fremont,CA,27898,5 ft. 1 in.,113 lbs,Dr Kim Reiser,St. Thomas,David Nguyen,david.nguyen@gmail.com,654-321-0987,Kaiser Permanente,HMO,18765439X,"$25,598.32",5345678901234567,MasterCard,98
04-22-67,Susan,Wright,345-67-8901,07/07/1988,F,swright@yahoo.com,234-567-8901,"22, Tobey Ave",Ramon,CA,23456,5 ft. 3 in.,123 lbs,Dr Kim Reiser,St. Thomas,Jack Wright,jwright@yahoo.com,678-901-2345,Kaiser Permanente,HMO,10098267Z,"$2,786.00",3 456789011 34567,Amex,1234
44-85-76,Gopi,Nath,456-78-9012,04/14/1999,M,gopi.nath@gmail.com,890-123-4567,"234, Fell St.",Oakland,CA,45623,5 ft. 11 in.,175 lbs,Dr Able Bodee,St. Thomas,Shree Nath,snath@yahoo.com,765-432-1098,UnitedHealth,HMO,UH-002315-CA-0004,"$21,483.00",3 456789012 45678,Amex,5678
05-87-23,Jim,Bender,567-89-0123,08/23/1992,M,jimbender92@yahoo.com,345-678-9012,"45631, Twisting Terrace",Los Altos,CA,77452,5 ft. 10 in.,167 lbs,Dr. Able Bodee,Great Samaritan Hospital,Joanee Bender,joannebender95@yahoo.com,210-987-6543,Blue Cross,PPO,AQI84451N0092,"$1,234.00",4.6789E+15,Visa,456
23-88-44,Kim,Lee,678-90-1234,05/05/1997,F,kimlee97@gmail.com,901-234-5678,"87, Persimmon St.",Santa Clara,CA,98764,5 ft. 3 in.,124 lbs,Dr Able Bodee,Great Samaritan Hospital,Mike Lee,mikelee95@gmail.com,876-543-2109,Cigna,HMO,C98761002,"$159,247.45",4789012345678901,Visa,789
05-87-24,Joanne,Bender,789-01-2345,05/20/1995,F,"joannebender95@yahoo,com",456-789-0123,"45631, Twisting Terrace",Los Altos,CA,77452,5 ft. 4 in.,128 lbs,Dr Kim Reiser,Great Samaritan Hospital,Jim Bender,jimbender92@yahoo.com,321-098-7654,Blue Cross,PPO,AQI84933N0092,"$45,678.00",4890123456789012,Visa,12
23-88-45,Mike,Lee,890-12-3456,07/11/1995,M,mikelee95@gmail.com,876-543-2109,"87, Persimmon St.",Santa Clara,CA,98764,5 ft. 8 in.,153 lbs,Dr Able Bodee,Great Samaritan Hospital,Kim Lee,kimlee97@gmail.com,901-234-5678,UnitedHealth,HMO,UH-765432-CA-0179,"$8,743.92",5901234567890123,MasterCard,765
01-23-99,Jane,Garimi,901-23-4567,03/04/1956,F,janegarimi@hotmail.com,567-890-1234,"123, Oak St.",Dublin,CA,87391,5 ft. 5 in.,135 lbs,Dr Kim Reiser,Great Samaritan Hospital,John Garimi,johngarimi@hotmail.com,432-109-8765,Blue Cross,PPO,AQI78450N0821,"$12,356.00",5012345678901234,MasterCard,432
17-89-44,David,Nguyen,012-34-5678,11/25/1992,M,david.nguyen@gmail.com,654-321-0987,"87334, Summer Glen Terrqace",Fremont,CA,27898,5 ft. 3 in.,138 lbs,Dr Able Bodee,Great Samaritan Hospital,Faye Nguyen,faye.nguyen@gmail.com,789-012-3456,Kaiser Permanente,HMO,18765439X,"$18,432.00",3 712345678 90123,Amex,9012
04-22-68,Jack,Wright,987-65-4321,06/18/1984,M,jwright@yahoo.com,678-901-2345,"22, Tobey Ave",Ramon,CA,23456,5 ft. 8 in.,157 lbs,Dr. Able Bodee,St. Thomas,Susan Wright,"swright@yahoo,com",234-567-8901,Kaiser Permanente,HMO,10098267Z,"$9,453.21",4098765432109876,Visa,109