Installing Bornio on AWS

Creating an AWS EC2 Instance

Before you install Bornio you should ensure you have the following completed as prerequisites:

  1. Sign in to your Amazon AWS Console and open the Amazon EC2 console at https://console.aws.amazon.com/ec2/.
  2. Click on Launch Instances
  3. Select the “Amazon Linux 2 AMI (HVM) – Kernel 5.10, SSD Volume Type (x86)” image
  4. Choose instance type: Bornio requires an EC2 instance with at least t2.medium type.
  5. Click on Configure Instance Details and continue clicking Next:… until the Configure Security Group page.
  6. Click Add Rule and add HTTP as Type.
  7. Click Review and Launch
  8. Review your configuration and click Launch

You will see the following screen:

9. In the drop down, select “Proceed without a key pair”, instead of “Choose an existing key pair” or “Create a new Key Pair” and check the acknowledgement.
10. Click on  “Launch Instances” to initialize and create the EC2 Instance.
11. (Optionally) Name the instance (for example, Bornio-Trial-Instance)

For details: refer to https://docs.aws.amazon.com/efs/latest/ug/gs-step-one-create-ec2-resources.html

Your EC2 trial instance will be ready for use within minutes.

Connecting to the EC2 Instance

You will have to connect to your EC2 Instance before performing the next steps. 

  1. Go to the EC2 Instance console
  2. Select the instance
  3. Click on Connect

This will open a new terminal command line window with a shell prompt.

Installing Bornio

Run the following command, exactly as specified below,  at the shell prompt to install Bornio and start the Bornio Server:

curl -s https://bornio.bitbucket.io/bin/awsinst | bash

Accessing Bornio

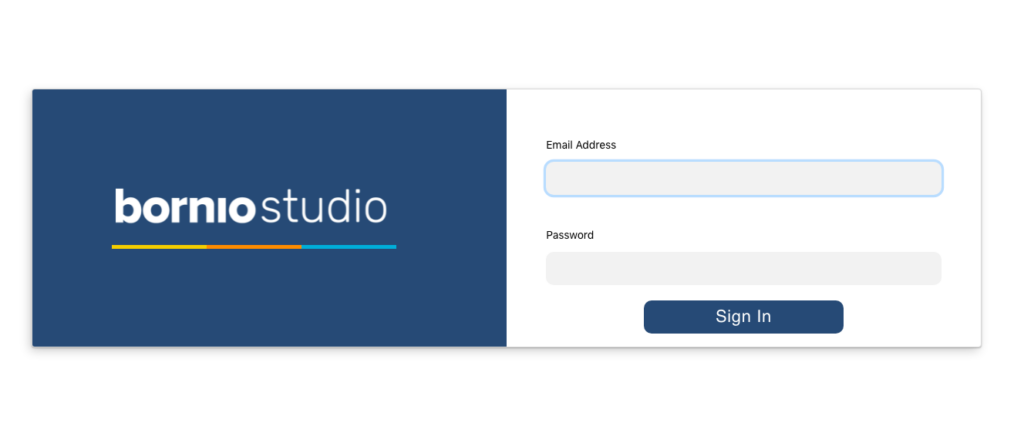
Note the IP address and Hostname of the EC2 Instance (in the Details tab when the instance is selected).  Use any browser to access http://{Hostname of EC2 Instance}  or http://{IP Address of EC2 Instance}

The default login credential is “admin/admin

After you login using the default credentials, change the password for the admin user.

  1. Click on Admin user name at the top right corner
  2. Click on My Profile
  3. Add and Confirm the new password and Save. 

Congratulations! You’re ready to use Bornio.

Click the Help (?) link in the product and click Getting Started Tutorial to get oriented with Bornio.