Creating a Data Source
Creating a data source established all the necessary connection information for Bornio to access the schema and metadata information that is needed to protect data and customize privacy policies.
Prerequisites
Before starting, you must have successfully:
- Installed Bornio in your GCP or AWS cloud.
- Obtained permissions and login credentials to the data that you want to connect to.
Registering a Data Source
To register your data source in Bornio:
- Open and login to Bornio Studio.
- Click + Data Source.
- Click one of the many data source types.
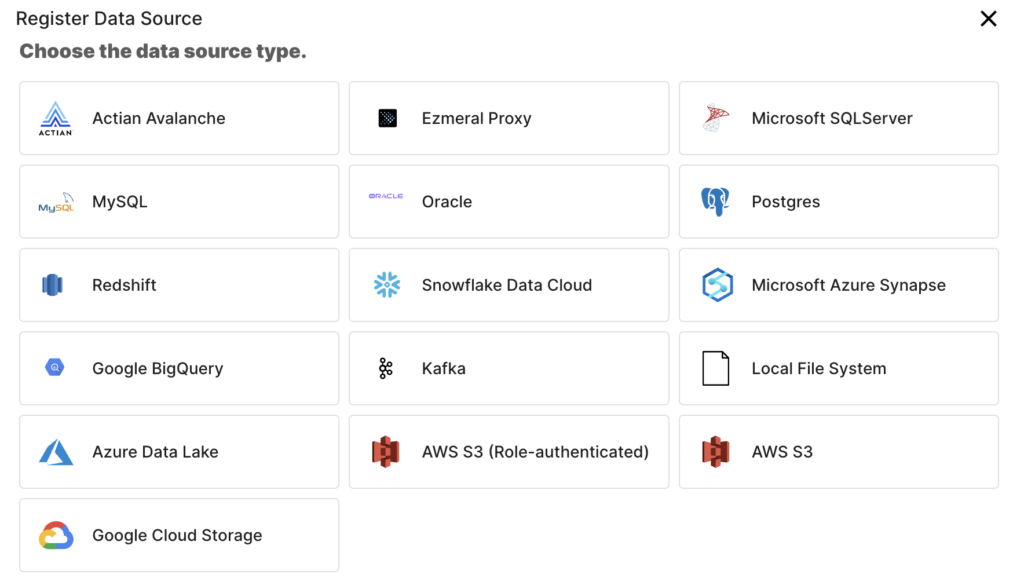
- Enter the connection information for that data source type.
- Click Next.
The data source is registered and you are taken to Preview mode: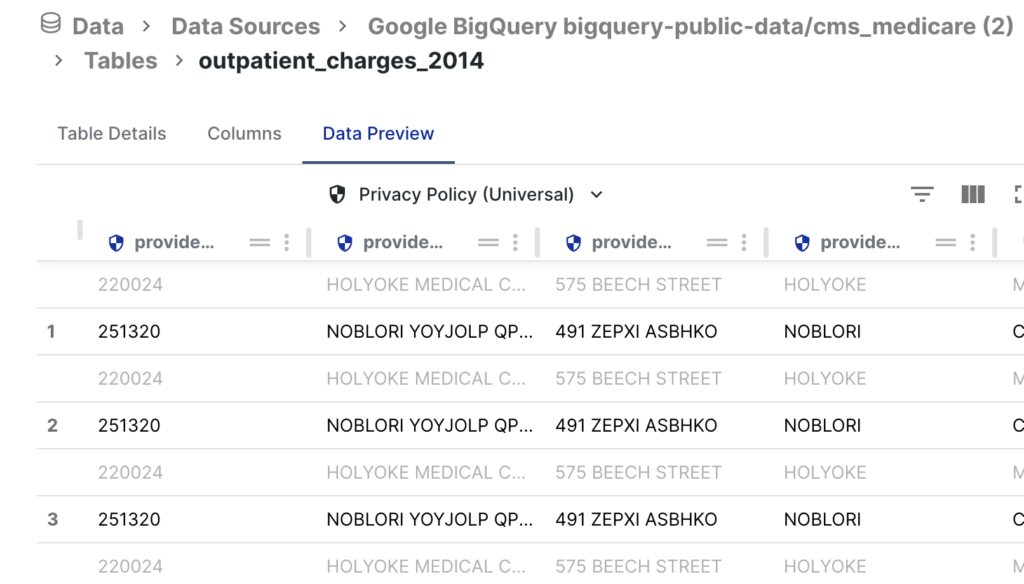
Note: Preview mode shows two rows for each original row of data. The first row is shown in light gray and represents the original data. The second row, which in numbered, is in a darker gray to indicate how the protected data would appear when deployed to a target location.