Installing Bornio on GCP

Creating a GCP VM Instance

Before you install Bornio you should ensure you have the following completed as prerequisites:

  1. In the Cloud Console, go to the Create an instance page.
    Go to Create an instance
  2. In the Machine type section, choose at least e2-medium.
  3. In the Boot disk section, click Change to begin configuring your boot disk.
  4. On the Public images tab, choose CentOS from the Operating system list.
  5. Choose CentOS 7 from the Version list.
  6. Click Select.
  7. In the Firewall section, select Allow HTTP traffic.
  8. To create the VM, click Create.

You will have to connect to your GCP VM Instance before performing the next steps.

Connecting to the GCP Instance

  1. Go to the GCP VM instance console
  2. Select the instance
  3. Click on Open in browser window.

The above will open a new terminal command line window with a shell prompt.

Installing Bornio

Run the following command, exactly as specified below,  at the shell prompt to install Bornio and start the Bornio Server:

curl -s https://kalepsodev.bitbucket.io/bin/gcpinst | bash

Accessing Bornio

Find the IP address and Hostname of the GCP VM Instance.  Use any browser to access http://{Hostname of EC2 Instance}  or http://{IP Address of EC2 Instance}

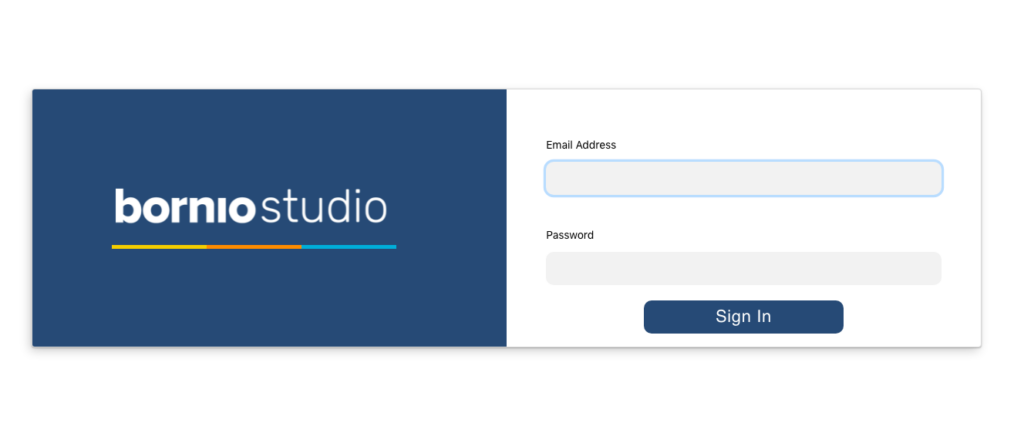
The default login credential is “admin/admin

After you login using the default credentials, change the password for the admin user.

  1. Click on Admin user name at the top right corner
  2. Click on My Profile
  3. Add and Confirm the new password and Save. 

Congratulations! You’re ready to use Bornio.

Click the Help (?) link in the product and click Getting Started Tutorial to get oriented with Bornio.